


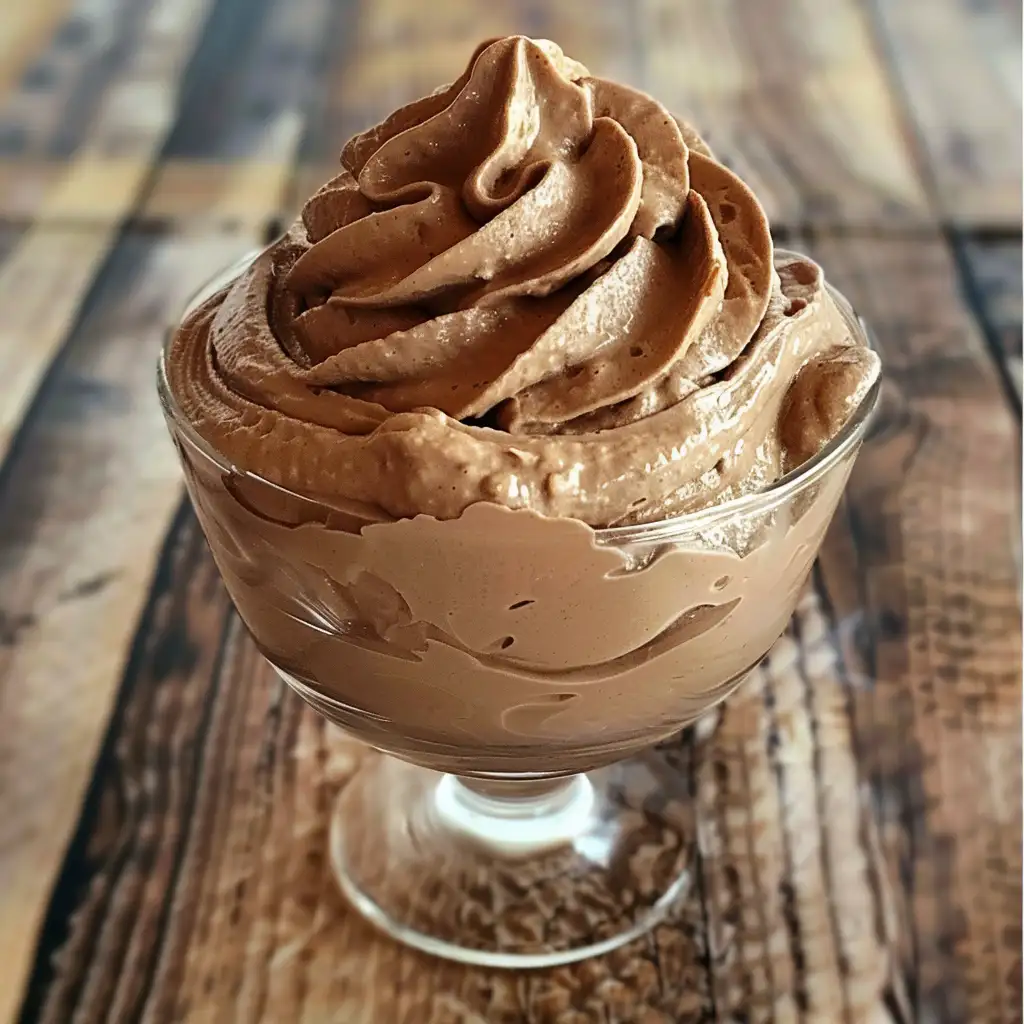
This incredibly simple two-ingredient mousse is a game-changer for dessert lovers. By substituting heavy cream for milk in instant pudding, you create a luxuriously rich and velvety mousse that rivals any restaurant version. It’s a clever kitchen hack that transforms an ordinary box of pudding into an extraordinary dessert with minimal effort.
Why You’ll Love This Recipe
- Takes less than 5 minutes of active preparation time
- Only requires 2 basic ingredients
- Versatile and customizable with any pudding flavor
- Stores beautifully in both refrigerator and freezer
- Impressive texture and taste that belies its simplicity
Ingredients
- Instant Pudding Mix: Choose any flavor that appeals to you – chocolate, vanilla, butterscotch, pistachio, or seasonal varieties. Both regular and sugar-free versions work well.
- Heavy Whipping Cream: The secret ingredient that transforms ordinary pudding into mousse. Look for cream with high fat content (at least 36%) for the richest texture.
Variations
Layered Parfait Mousse (H3)
Create stunning parfaits by making multiple flavors of mousse and layering them in clear glasses. Add graham cracker crumbs, cookie pieces, or granola between layers for added texture.
Mix-In Mousse (H3)
Fold in extras after preparing the basic mousse. Try chocolate chips, crushed cookies, fresh berries, chopped nuts, or a swirl of fruit preserves to create your own custom flavor combinations.
Flavored Mousse (H3)
Enhance your mousse by adding extracts like vanilla, almond, or mint. For adult versions, a splash of liqueur like Baileys, Kahlúa, or Grand Marnier adds sophisticated flavor.
How to Make the Recipe
Step 1: Mix Pudding with Heavy Cream (H3)
Using a hand mixer, combine the instant pudding mix with heavy whipping cream instead of milk as directed on the package. Start with the lower amount of cream (2 cups) and add more if needed for your desired consistency.
Step 2: Initial Chilling (H3)
After thoroughly mixing the pudding and cream together, place the mixture in the refrigerator for about 5-10 minutes. This brief chilling period allows the pudding to begin setting up.
Step 3: Final Whipping (H3)
Remove the chilled mixture from the refrigerator and beat it again with your hand mixer until it becomes very thick and holds its shape. This second mixing incorporates air into the mousse, giving it that light, fluffy texture.
Tips for Making the Recipe
- Use cold heavy cream straight from the refrigerator for the best whipping results
- If you prefer a lighter mousse, use 3 cups of cream; for a denser texture, stick with 2 cups
- Mix until just combined in the first step – don’t overmix initially
- For a more intense flavor, use a larger box of pudding while keeping the cream amount the same
- Chill your mixing bowl beforehand for even better whipping power
- For chocolate mousse, a pinch of espresso powder enhances the chocolate flavor without adding coffee taste
How to Serve
Serve this versatile mousse in elegant dessert glasses, ramekins, or small bowls for a sophisticated presentation. Top with fresh whipped cream, seasonal fruit, chocolate shavings, or crushed cookies. It makes a wonderful standalone dessert, pie filling, cake frosting, or as a dip for fresh strawberries and other fruits. For special occasions, pipe the mousse into pre-baked tart shells or layer it in a trifle.
Make Ahead
This mousse is perfect for making ahead of time, as it actually improves after sitting for a few hours. Store in a tightly covered container in the refrigerator for up to two weeks. For longer storage, freeze the mousse in airtight containers for up to three months. The frozen version makes a delightful semi-frozen treat with a texture similar to soft ice cream. If you plan to use it as a topping or filling, thaw overnight in the refrigerator before using.
FAQs
Can I use milk instead of heavy cream? (H3)
No, milk won’t work in this recipe. The heavy cream is essential for creating the mousse texture and richness. Using milk would simply give you regular pudding.
Why is my mousse not thickening properly? (H3)
Make sure you’re using heavy whipping cream with at least 36% fat content. Also, ensure your mixing equipment is clean and grease-free, as any residue can prevent proper thickening. Lastly, don’t skip the second mixing step after refrigeration.
Can I make this recipe dairy-free? (H3)
Yes, you can experiment with full-fat coconut cream (the thick part from canned coconut milk) as a substitute for heavy cream. Results may vary depending on the brand of pudding and coconut cream.
What pudding flavors work best for this recipe? (H3)
All flavors work wonderfully! Classic choices include chocolate, vanilla, and butterscotch. For something different, try pistachio, cheesecake, or seasonal flavors like pumpkin spice. You can even mix two different flavors together.
Conclusion
This two-ingredient mousse recipe proves that extraordinary desserts don’t require complicated techniques or endless ingredient lists. With just instant pudding and heavy cream, you can create a versatile treat that’s perfect for everything from everyday indulgences to special occasions. The ability to store it for weeks in the refrigerator or months in the freezer makes it an excellent make-ahead option for busy households. Give this ridiculously simple mousse a try, and it might just become your go-to dessert hack!
Print
The Easiest Mousse You Will Ever Make
- Total Time: 10 minutes (plus chilling time)
- Yield: 6–8 servings 1x
- Diet: Vegetarian
Description
A quick and luxurious mousse made with just two ingredients – instant pudding mix and heavy cream – creating a versatile dessert that’s both effortless and impressively smooth.
Ingredients
- 1 box instant pudding (any flavor and size)
- 2–3 cups heavy whipping cream
Instructions
- Mix the Pudding with Cream
- Combine the instant pudding mix with heavy whipping cream instead of milk in a large bowl. Using a hand mixer, beat the mixture according to the package directions until well combined. The heavy cream creates a richer, more luxurious texture than using regular milk.
- Initial Chilling
- Place the mixed pudding in the refrigerator for a few minutes to allow it to begin setting. This brief chilling period helps the pudding develop structure before the final whipping.
- Second Whipping
- Remove the partially set pudding from the refrigerator and beat it again with the hand mixer until it becomes very thick and achieves a mousse-like consistency. This second mixing incorporates more air, creating that light, fluffy texture characteristic of mousse.
- Storage
- Transfer the finished mousse to a covered container. It can be stored in the refrigerator for up to 2 weeks or frozen for longer storage. If freezing, consider dividing into portion-sized containers for easier serving later.
Notes
- For chocolate mousse, try chocolate pudding mix with a dash of espresso powder to enhance the flavor
- Add a teaspoon of vanilla extract or other flavoring to complement your pudding flavor
- For a more elegant presentation, pipe the mousse into serving dishes and garnish with fresh berries, chocolate shavings, or mint leaves
- The mousse can be used as a cake filling or frosting alternative
- Frozen mousse makes a delightful treat similar to ice cream but with a different texture
- Prep Time: 10 minutes
- Cook Time: 0 minutes
- Category: Desserts
- Method: No-cook
- Cuisine: American
Nutrition
- Serving Size: 1/2 cup
- Calories: 320
- Sugar: 22g
- Sodium: 350mg
- Fat: 24g
- Saturated Fat: 15g
- Unsaturated Fat: 8g
- Trans Fat: 0g
- Carbohydrates: 26g
- Fiber: 0g
- Protein: 3g
- Cholesterol: 85mg