

I’ve always found there’s something magical about upside-down cakes – that moment when you flip the pan and reveal the glistening fruit layer that’s been caramelizing beneath the cake. My strawberry version came to life during one particularly abundant spring when my local farmers market was overflowing with ruby-red berries. After watching my children devour their third helping at Sunday dinner, I knew this recipe deserved a permanent spot in our family collection.
Sweet Beginnings
The first time I made this cake, I was actually trying to use up strawberries before they spoiled – you know how quickly they can turn! What started as a practical solution became one of my most requested desserts. I’ve since made it for countless dinner parties, birthday celebrations, and quiet weekend afternoons when we needed something special to brighten our day.
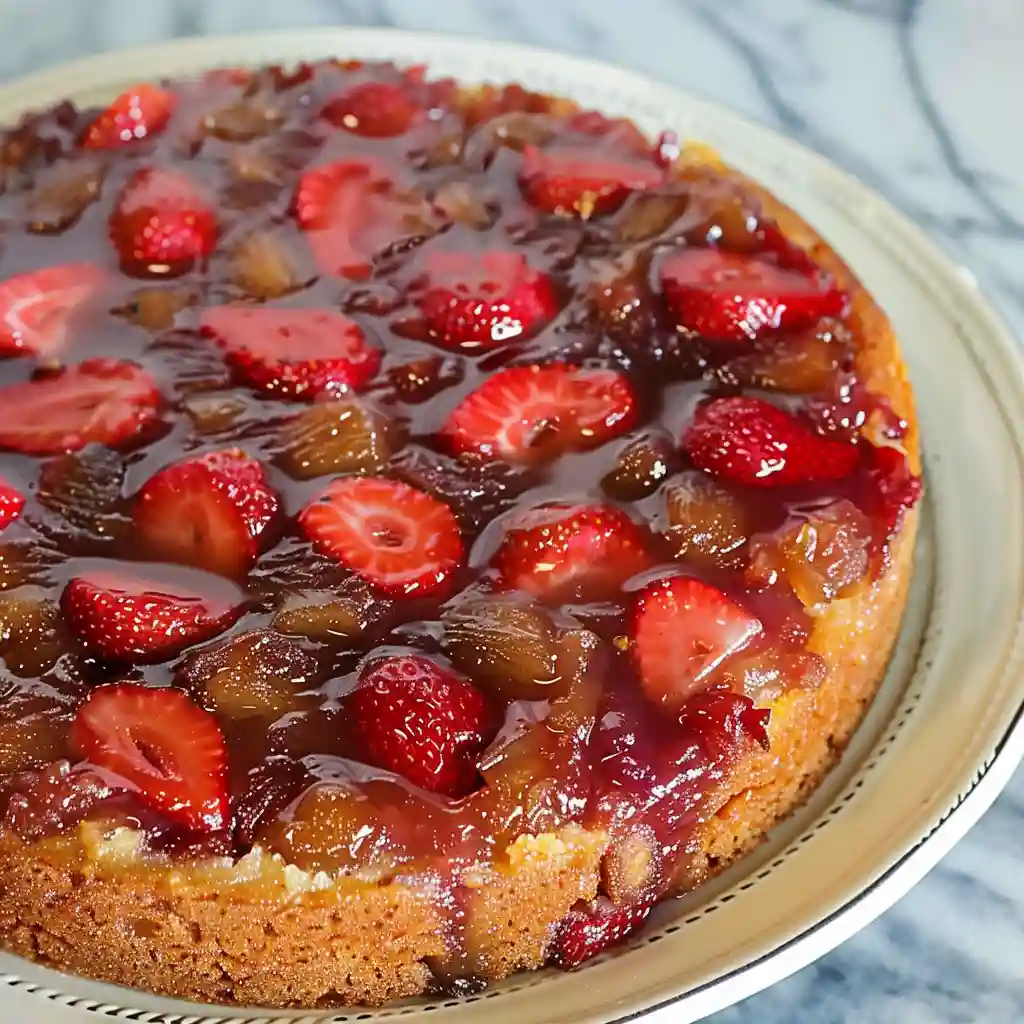
What I love most about this recipe is how it transforms humble ingredients into something that looks like it came from a bakery window. The brown sugar caramelizes around the strawberries, creating this gorgeous ruby-red crown that makes everyone at the table reach for their phones before taking a bite.
Why This Recipe Works
The magic of this upside-down cake lies in its perfect balance of flavors and textures. After testing countless variations (my husband never complained about the “research” process), I discovered that room temperature ingredients make all the difference in achieving that tender, moist crumb.
Unlike traditional pineapple upside-down cake, strawberries release more moisture as they bake. This required adjusting the cake batter to ensure it wouldn’t become soggy – a lesson I learned after several less-than-perfect attempts. The result is a cake that’s substantial enough to support the fruit topping while remaining light enough to let the strawberry flavor shine.
What You’ll Need
Brown sugar: Creates that irresistible caramel-like topping that makes upside-down cakes so special; I’ve found dark brown sugar works too, just with a deeper molasses flavor.
Fresh sliced strawberries: Look for bright red berries with no white shoulders; when strawberries aren’t in season, I’ve successfully used frozen (thawed and patted dry).
All-purpose flour: Provides the perfect structure for this cake; I’ve tested cake flour too, but it made the crumb too delicate for the fruit topping.
White sugar: Sweetens the cake without competing with the fruit’s natural flavor; I’ve tried reducing it slightly for friends watching their sugar intake, and it still works beautifully.
Baking powder: Gives the cake its perfect rise; make sure yours is fresh – I learned the hard way after one disappointingly flat cake!
Milk: Adds moisture and tenderness; I use whole milk, but I’ve made it with 2% when that’s what was in my refrigerator.
Butter: Creates a rich, tender crumb in the cake and helps form that gorgeous caramelized topping; unsalted is my preference, but salted works in a pinch.
Egg: Binds everything together and adds structure; bringing it to room temperature helps it incorporate more evenly into the batter.
Vanilla extract: Enhances all the other flavors; I splurge on pure vanilla for this recipe – it really makes a difference.
Let’s Get Baking
Prepare the Sweet Foundation
Preheating your oven to 350°F is the first step toward strawberry bliss. While many recipes call for a special cast iron skillet, I’ve found that a standard 9-inch round cake pan works perfectly. Melting the butter directly in the pan is a little trick I developed to save a bowl and ensure even distribution. Just place your pan on a low burner until the butter melts completely, then remove it immediately to prevent burning.
The brown sugar goes in next, and I like to use a small spatula to blend it with the melted butter, creating an even layer that will eventually become the crown of your cake. Arrange your sliced strawberries in a pattern that makes your heart happy – sometimes I go for a spiral design when I’m feeling fancy, but a simple layer works beautifully too.
Creating the Perfect Cake
In my early days of recipe testing, I made the mistake of overcomplicating the cake batter. After multiple versions, I discovered that a simple, tender vanilla cake creates the ideal canvas for the strawberry topping. Whisking the dry ingredients first ensures even distribution of the baking powder – no one wants to bite into a pocket of bitterness!
When adding the wet ingredients, I’ve found that mixing just until combined yields the most tender results. If you overmix, the cake can become tough, something I learned after a particularly enthusiastic session with my stand mixer last summer.
The Gentle Assembly
The trickiest part of this recipe is getting the batter over the strawberries without disturbing your careful arrangement. After many messy attempts, I’ve developed two foolproof methods. Either pour the batter slowly in the center and let it spread naturally outward, or use a large spoon to dollop it evenly across the surface before gently smoothing it with an offset spatula. I tend to use the dolloping method when I’ve arranged my strawberries in a special pattern.
The Big Reveal
After baking, patience becomes your greatest virtue. Those 5-10 minutes of cooling time are crucial – I once rushed this step and ended up with half my topping stuck to the pan! The warm cake needs that brief rest to set slightly before the dramatic flip.
When it’s time for the reveal, I gather my family in the kitchen. There’s something theatrical about placing the serving plate over the pan and executing that perfect flip. The collective “ooh” when the cake emerges with its glistening strawberry crown makes all the effort worthwhile.
Make It Your Own
After making this cake dozens of times, I’ve played with several variations that have become favorites in our home:
During summer, I sometimes replace half the strawberries with sliced peaches for a beautiful sunset-colored topping. The combination emerged from a happy accident when I was short on strawberries but had a perfectly ripe peach on my counter.
For a touch of sophistication, I’ve added 1/2 teaspoon of almond extract to the cake batter – it pairs beautifully with the strawberries and adds an unexpected depth. This version became my standard for dinner parties after receiving rave reviews from my usually stoic father-in-law.
When serving to adults, I occasionally brush the turned-out cake with a tablespoon of Grand Marnier or amaretto – this came about during a celebration for my sister’s birthday, and now she requests it every year.
My Best Tips
Don’t skimp on the cooling time before flipping. Those few minutes allow the caramelized topping to set just enough that it won’t slide off when inverted – a lesson I learned the hard way during an impatient moment.
If your strawberries are particularly juicy, lay them on paper towels for a few minutes before arranging them in the pan. This prevents too much liquid from making the cake soggy, something I discovered during peak strawberry season when the berries were exceptionally ripe.
For picture-perfect slices (like the ones I photograph by my dining room window), let the cake cool completely before cutting. Warm cake tends to crumble, while cooled cake slices beautifully – though I completely understand if you can’t wait that long!
The cake actually tastes even better the next day, as the flavors have time to meld. I often bake it in the evening for serving the following day, which also makes it perfect for make-ahead entertaining.
Frequently Asked Questions
Can I use frozen strawberries? → Yes! Thaw them completely first and pat them dry with paper towels to remove excess moisture. I’ve made this in the dead of winter with frozen berries, and while fresh are ideal, frozen still create a delicious cake.
How do I store leftovers? → Cover loosely and store at room temperature for up to two days, or refrigerate for up to five days. The refrigerator can dry out the cake slightly, so I prefer room temperature storage when possible.
Can I make this with other fruits? → Absolutely! I’ve made versions with raspberries, blueberries, and even sliced plums. Just be mindful of the moisture content – berries like raspberries release more juice, so you might want to use fewer.
Why did my topping stick to the pan? → This usually happens if the cake hasn’t cooled enough before flipping. Give it at least 5-10 minutes in the pan after baking, but don’t wait too long or the caramel will harden and stick.
Can I make this cake ahead of time? → Yes! It actually improves with a day of rest as the flavors meld. Just store it covered at room temperature, and if you’d like, warm individual slices slightly before serving.
Print
Strawberry Upside Down Cake
- Total Time: 50 minutes
- Yield: 8 servings 1x
Description
A delightful and moist strawberry upside down cake featuring a caramelized brown sugar topping with fresh strawberries that bake into a tender vanilla cake. Perfect for showcasing seasonal strawberries in an elegant yet simple dessert.
Ingredients
- 2 tablespoons butter, room temperature (for the topping)
- 1/2 cup brown sugar
- 1 cup fresh sliced strawberries
- 1 1/3 cups all-purpose flour
- 2/3 cup white sugar
- 2 teaspoons baking powder
- 2/3 cup milk
- 1/4 cup butter, room temperature (for the cake batter)
- 1 egg, room temperature
- 1 teaspoon vanilla extract
Instructions
- Preheat the Oven
- Preheat your oven to 350°F (175°C). This temperature ensures the cake bakes evenly while allowing the strawberries to soften and release their juices without burning the caramelized topping.
- Prepare the Topping
- Melt 2 tablespoons of butter in a 9-inch round baking pan by placing it on a stovetop burner set to low heat. Once melted, remove the pan from heat and sprinkle 1/2 cup brown sugar evenly over the melted butter. Stir to combine, creating a smooth mixture that will caramelize during baking. Spread this mixture evenly across the bottom of the pan.
- Arrange the Strawberries
- Place the sliced strawberries in a single layer on top of the brown sugar mixture. Try to arrange them in an attractive pattern as they will be visible when the cake is inverted after baking.
- Mix Dry Ingredients
- In a large mixing bowl, combine the all-purpose flour, white sugar, and baking powder. Whisk these dry ingredients together thoroughly to ensure the baking powder is evenly distributed throughout the flour.
- Prepare the Batter
- Add the milk, room temperature butter, egg, and vanilla extract to the dry ingredient mixture. Using an electric mixer, beat all ingredients together until you achieve a smooth, consistent batter with no lumps.
- Add Batter to Pan
- Carefully pour or spoon the cake batter over the arranged strawberries in the pan. If pouring, do so slowly to avoid disturbing the fruit. Alternatively, dollop spoonfuls of batter around the pan and then gently spread it into an even layer using a spatula.
- Bake the Cake
- Place the cake pan in the preheated oven and bake for 30-35 minutes. The cake is done when a toothpick inserted into the center comes out clean and the top is golden brown.
- Cool and Invert
- Remove the cake from the oven and place it on a wire cooling rack for 5-10 minutes. This brief cooling period allows the cake to set slightly while still being warm enough for successful removal. Place a serving plate upside down over the cake pan, and in one quick motion, flip both over so the cake releases onto the plate with the strawberry topping facing up. Remove the pan and allow the cake to cool completely before serving.
Notes
- For best results, use fresh, ripe strawberries that are firm but not overripe.
- If strawberries are out of season, you can substitute with frozen strawberries, but thaw and drain them first to prevent excess moisture.
- The cake can be served warm with a scoop of vanilla ice cream or whipped cream for an extra special treat.
- Store any leftovers covered in the refrigerator for up to 3 days. Warm slightly before serving.
- This recipe can be adapted for other fruits like peaches, plums, or pineapple.
- Prep Time: 15 minutes
- Cook Time: 35 minutes
- Category: Desserts
- Method: Baking
- Cuisine: American
Nutrition
- Serving Size: 1 slice
- Calories: 285
- Sugar: 30g
- Sodium: 150mg
- Fat: 10g
- Saturated Fat: 6g
- Unsaturated Fat: 3g
- Trans Fat: 0g
- Carbohydrates: 47g
- Fiber: 1g
- Protein: 4g
- Cholesterol: 45mg