

I’ll never forget the first time I made pizzagna. It was a chilly Sunday afternoon, and my kitchen was filled with the scent of simmering tomato sauce. I had my two greatest food loves on my mind: pizza and lasagna. As I stared at the no-boil lasagna sheets in my pantry, inspiration struck. Why choose between them when I could have both? That experimental dish – a hybrid of pizza toppings layered between pasta sheets – has since become one of the most requested recipes from friends who gather around my dining table.
Where Two Favorites Meet
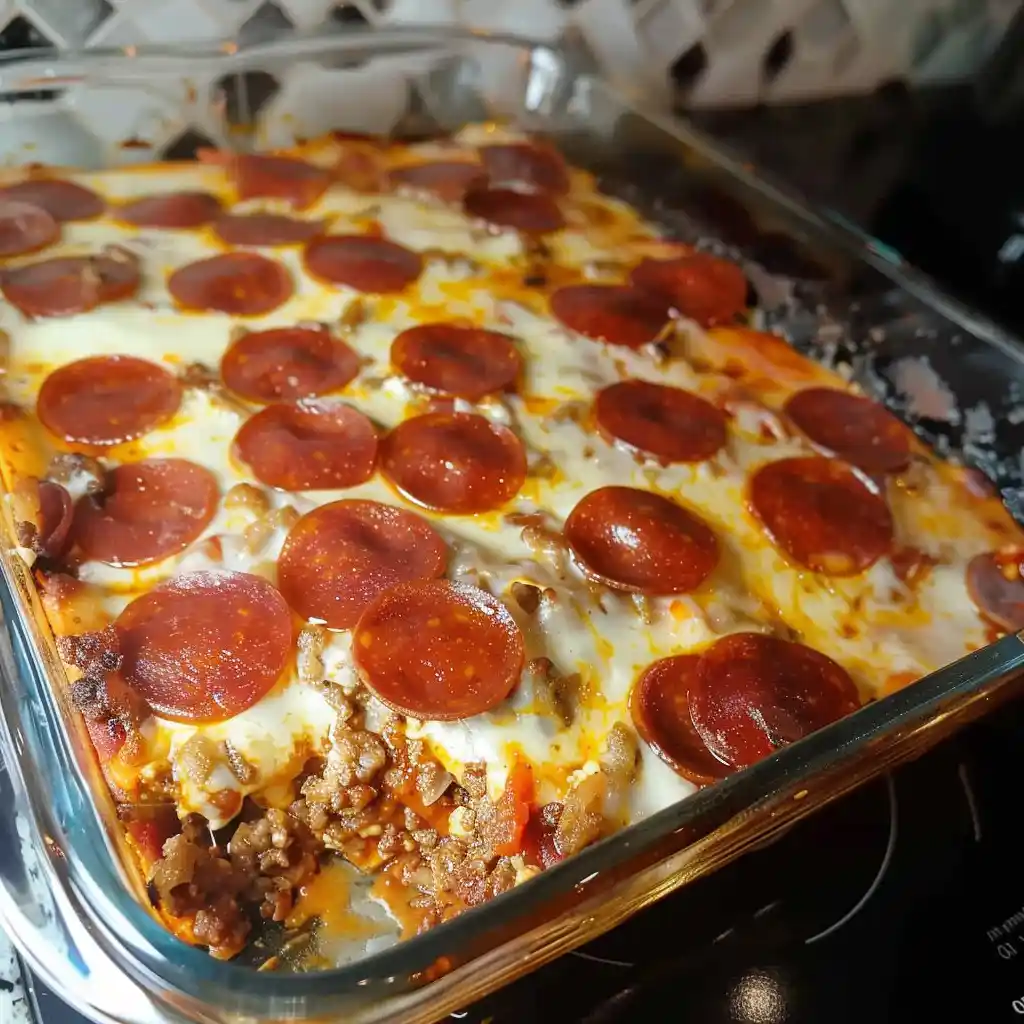
What makes this pizzagna special is its beautiful simplicity. It captures everything we love about pizza – the savory toppings, the melty cheese, the rich sauce – but in a hearty, layered format that feels like a proper meal. I’ve tested this countless times, adjusting the sauce-to-pasta ratio until finding that sweet spot where the lasagna sheets cook perfectly without becoming too soggy or remaining too firm.
The beauty of this crossover dish is how it transforms basic ingredients into something that feels both familiar and new. My nephew calls it “pizza you can eat with a fork,” which pretty much sums it up perfectly. It’s become my go-to when hosting movie nights or when I need a make-ahead meal that pleases everyone.
What You’ll Need
No-boil lasagna sheets: Six sheets work perfectly for a 9×9 dish; I’ve found these absorb the flavors better than pre-boiled sheets, which can get mushy.
Pasta sauce: Your preferred jarred sauce works wonderfully here; I often use whatever I have on hand, though one with herbs and a hint of sweetness complements the pizza toppings beautifully.
Shredded mozzarella cheese: I prefer a low-moisture, whole milk variety that melts evenly without releasing too much liquid; pre-shredded works fine, but freshly grated creates that stretchy pizza pull we all love.
Pepperoni slices: Diced small to distribute that distinctive spicy flavor throughout each bite; turkey pepperoni works well if you prefer something lighter.
Canadian bacon or cooked pizza sausage: I love the smoky sweetness Canadian bacon brings, but I’ve made this with crumbled Italian sausage I’ve pre-cooked when friends come over who prefer a spicier profile.
Let’s Get Layering
Prep Your Canvas
First, I preheat my oven to 350°F and spray my 9×9 baking dish with nonstick spray. I’ve learned through several soggy attempts that this step is crucial – nothing ruins pizzagna faster than having it stick to the dish! While the oven heats, I dice my pepperoni and Canadian bacon into bite-sized pieces. This might seem like a small detail, but having evenly distributed toppings ensures every bite has that perfect pizza flavor.
Build Your Base
I start with about half a cup of sauce spread evenly across the bottom of the dish. This first layer of sauce is what helps cook the no-boil noodles, so I make sure it covers the entire surface. Then I lay down two lasagna sheets with a bit of space between them. The first time I made this, I overlapped them and ended up with undercooked pasta in spots – lesson learned!
Create Your Layers
Next comes the fun part – layering the pizza elements. I spoon a thin layer of sauce over the noodles, then sprinkle a generous layer of cheese and my diced meats. The key word here is “generous” – I’ve found being a bit heavy-handed with the fillings gives you that authentic pizza experience in every bite. Then I repeat the process: two more noodles, sauce, cheese, meat, and finally the last two noodles with sauce, extra cheese, and toppings.
The Secret Finish
Here’s a trick I discovered after my third test batch: I pour extra sauce around the edges of the assembled pizzagna, ensuring all sides of the pasta sheets are covered. This prevents those dreaded crispy, undercooked corners that plagued my early attempts. I cover the dish with foil – another crucial step – and it’s ready for the oven.
Make It Your Own
When my sister visits with her kids, I make a half-and-half version – one side with traditional pepperoni, the other with vegetables like bell peppers and mushrooms (which I quickly sauté first to remove excess moisture).
For a spicier adult version I made for my book club last month, I added sliced jalapeños and a sprinkle of red pepper flakes between the layers. The contrast of the heat with the melty cheese had everyone asking for the recipe.
During tomato season, I sometimes swap the jarred sauce for a quick homemade version using fresh tomatoes from my garden, simmered with just a bit of garlic and basil. The freshness elevates the entire dish to something that feels special enough for company.
What I’ve Learned
After many (many) test batches, I’ve discovered that allowing the pizzagna to rest for at least 10 minutes after baking is non-negotiable. I know it’s tempting to dig right in – the aroma filling the kitchen makes it nearly impossible to wait – but this resting period allows the layers to set properly, making it much easier to serve neat portions.
The foil cover during the first part of baking is crucial for properly cooking the pasta. When I skip this step, the top gets too brown before the pasta is fully tender.
For a make-ahead option, I’ve assembled this the night before, covered it tightly, and refrigerated it. The next day, I let it sit at room temperature for about 30 minutes before baking, adding an extra 10 minutes to the covered baking time.
If your cheese isn’t as golden as you’d like after the uncovered baking time, a quick minute under the broiler works wonders – just watch it closely to prevent burning!
Frequently Asked Questions
Can I use regular lasagna noodles instead of no-boil? → You can, but you’ll need to boil them first until they’re al dente. The sauce quantities in this recipe are calibrated for the no-boil sheets that absorb more liquid.
How do I know when it’s fully cooked? → Insert a knife into the center – it should slide through the pasta layers easily, and the internal temperature should reach about 165°F.
Can I freeze this? → Absolutely! I often make a double batch and freeze one for busy weeknights. Cool it completely, cover tightly with foil, and freeze for up to 3 months. Thaw overnight in the refrigerator before reheating.
What sides go well with pizzagna? → I love serving this with a simple green salad dressed with a light vinaigrette. The freshness balances the richness of the pizzagna perfectly.
Can I add vegetables? → Definitely! Just be sure to pre-cook vegetables with high water content (like mushrooms, zucchini, or spinach) to prevent your pizzagna from becoming watery.
Print
Pizzagna
- Total Time: 1 hour 5 minutes (plus 10 minutes resting time)
- Yield: 6 servings 1x
Description
A delicious fusion of pizza and lasagna, this Pizzagna combines the layered goodness of lasagna with classic pizza toppings for a comforting and satisfying meal that the whole family will love.
Ingredients
- 6 No Boil lasagna sheets
- 1 jar of preferred pasta sauce
- 2 cups shredded mozzarella cheese
- ¾ cup pepperoni slices
- ¾ cup Canadian bacon or cooked pizza sausage
Instructions
- Prepare the Oven and Baking Dish
- Preheat your oven to 350°F (175°C). Take a 9×9 inch baking dish and spray it thoroughly with nonstick cooking spray to prevent sticking and make cleanup easier.
- Prepare the Toppings
- Dice the pepperoni and Canadian bacon slices into small, bite-sized pieces. If you prefer, you can substitute with cooked sausage or any other favorite pizza toppings of your choice.
- Create the Base Layer
- Pour about half a cup of pasta sauce into the bottom of your prepared baking dish, spreading it out evenly. This creates a moist base that prevents the bottom noodles from drying out.
- Begin Layering
- Place two lasagna noodles on top of the sauce, leaving a little room between them as they will expand during cooking when they absorb the sauce’s liquid.
- Add First Layer of Toppings
- Spoon a thin layer of sauce over the lasagna sheets. Then generously sprinkle a layer of shredded mozzarella cheese and your diced pizza meats on top.
- Continue Layering
- Cover with two more lasagna sheets and repeat the process, adding sauce, cheese, and meat. Then place the final two lasagna sheets on top.
- Finish the Top Layer
- For the final layer, add a bit more sauce, plenty of cheese, and the remaining meat toppings. Make sure to pour extra sauce around the sides of the assembled pizzagna so that all edges of the pasta sheets are covered with sauce.
- Initial Baking Stage
- Cover the baking dish with aluminum foil and place it on the middle rack of your preheated oven. Bake covered for 35 minutes, which allows the pasta to cook through while trapping moisture.
- Final Baking Stage
- After 35 minutes, remove the foil and continue baking for an additional 15 minutes. This uncovered baking allows the cheese on top to get bubbly and slightly golden.
- Rest Before Serving
- Once done, remove from the oven and allow it to rest for at least 10 minutes. This resting period is crucial as it allows the layers to set, making it easier to cut and serve.
Notes
- For extra flavor, consider adding Italian herbs like oregano, basil, or an Italian seasoning blend to your sauce or between layers.
- You can customize this recipe with your favorite pizza toppings like bell peppers, olives, mushrooms, or onions.
- If you prefer a spicier dish, add red pepper flakes or use spicy Italian sausage.
- Leftovers can be stored in the refrigerator for up to 3 days and reheated in the microwave or oven.
- The no-boil lasagna noodles work best when they have plenty of sauce around them to absorb during cooking.
- Prep Time: 15 minutes
- Cook Time: 50 minutes
- Category: Main-course
- Method: Baking
- Cuisine: Italian-American
Nutrition
- Serving Size: 1 slice
- Calories: 420
- Sugar: 8g
- Sodium: 950mg
- Fat: 20g
- Saturated Fat: 9g
- Unsaturated Fat: 10g
- Trans Fat: 0g
- Carbohydrates: 38g
- Fiber: 3g
- Protein: 22g
- Cholesterol: 50mg